
Description
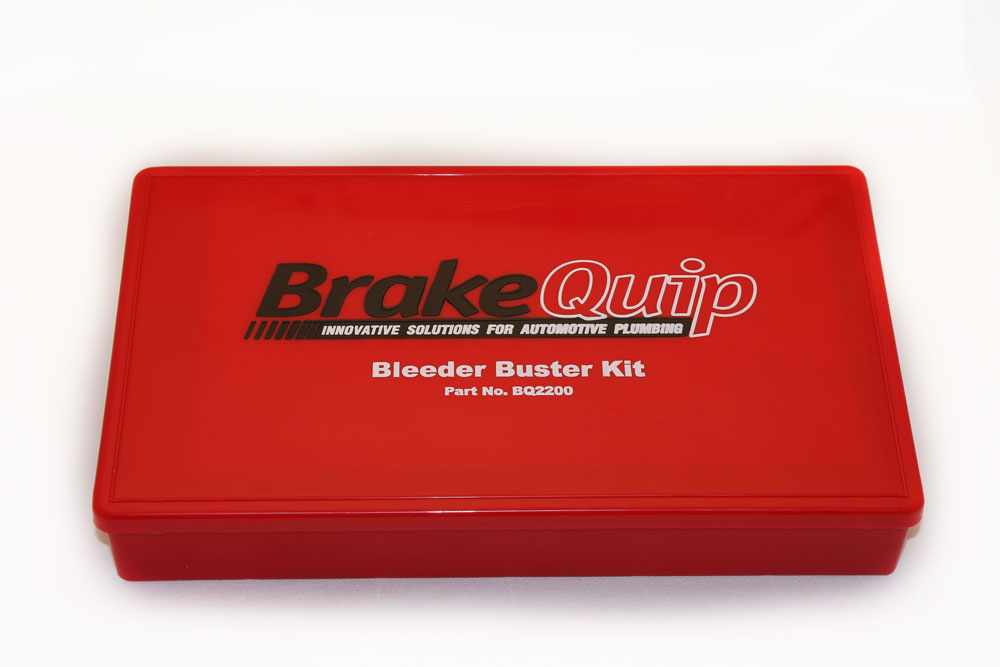
Remove Frozen Bleeder Screws Like a Pro… Easily

| Part No. | Content Description | QTY |
|---|---|---|
| BQ2200-1 | Bleeder Removal Tool | 1 |
| BQ2200W | Bleeder Filler Wire | 1 |
| BQ315 | Bleeder Cap Small | 10 |
| BQ316 | Bleeder Cap Large | 10 |
| BQ4433 | Bleeder Screw 3/8-24 UNF | 4 |
| BQ4434 | Bleeder Screw M10 x 1.0 Long | 4 |
| BQ4435 | Bleeder Screw M10 x 1.0 Short | 4 |
| BQ4438 | Bleeder Screw 5/16-24 UNF | 4 |
| BQ4439 | Bleeder Screw 1/4-28 UNF | 4 |
| BQ4440 | Bleeder Screw M10 x 1.5 | 4 |
| BQ4441 | Bleeder Screw M7 x 1 | 4 |
| BQ4442 | Bleeder Screw M8 x 1.25 | 4 |
| BQ4443 | Bleeder Screw M8 x 1 | 4 |
| BQ4444 | Bleeder Screw 7/16-24 UNS | 4 |
| BQ4445 | Bleeder Screw 7/16-20 UNF | 4 |
| BQ4446 | Bleeder Screw M10 x 1.25 | 4 |
Introducing the new Bleeder Buster Tool Kit
- No more heating up
- No more drilling and tapping
- No more cursing
- Can save you a lot of time
- Will pay for itself quickly
- Works on both cast iron and aluminum
It is as simple as:
- 1. Insert the largest diameter wire that will fit into the center hole of the bleed screw. Tap the wire plug in as far as it will go and cut off any wire remaining above the top of the bleed screw.
- 2. Place the adapter tool shaft into your air or electric hammer gun. Position the adapter tool on top of the bleed screw. Make sure the adapter tool shaft is directly in line with the bleed screw and that the adapter tool end are in full contact with the top of the bleed screw.
- 3. Maintain downward contact pressure and pull the trigger of the hammer gun for three to four seconds. This action will “compress” the bleed screw downward, while also “shocking” the threads free. The hex portion of the bleed screw will not be damaged and this action will not cause a problem.
- 4. Rotate the “compressed” bleed screw to remove it. It is suggested that if a hex wrench does not rotate the bleed screw and slips, that you use a pair of locking pliers for a more positive grip.
- 5. Install a new bleed screw of the correct size and thread into the component (with lubrication if necessary).
How does it work?
Installing the wire plug into the bleed screw prevents the walls of the bleed screw from collapsing when removing. Applying impact to the bleed screw for about three to four seconds will compress and work harden the bleeder screw and “shock” the threads free.
Note: The “compressed” bleed screw will need to be replaced after removal.

Reviews
There are no reviews yet.